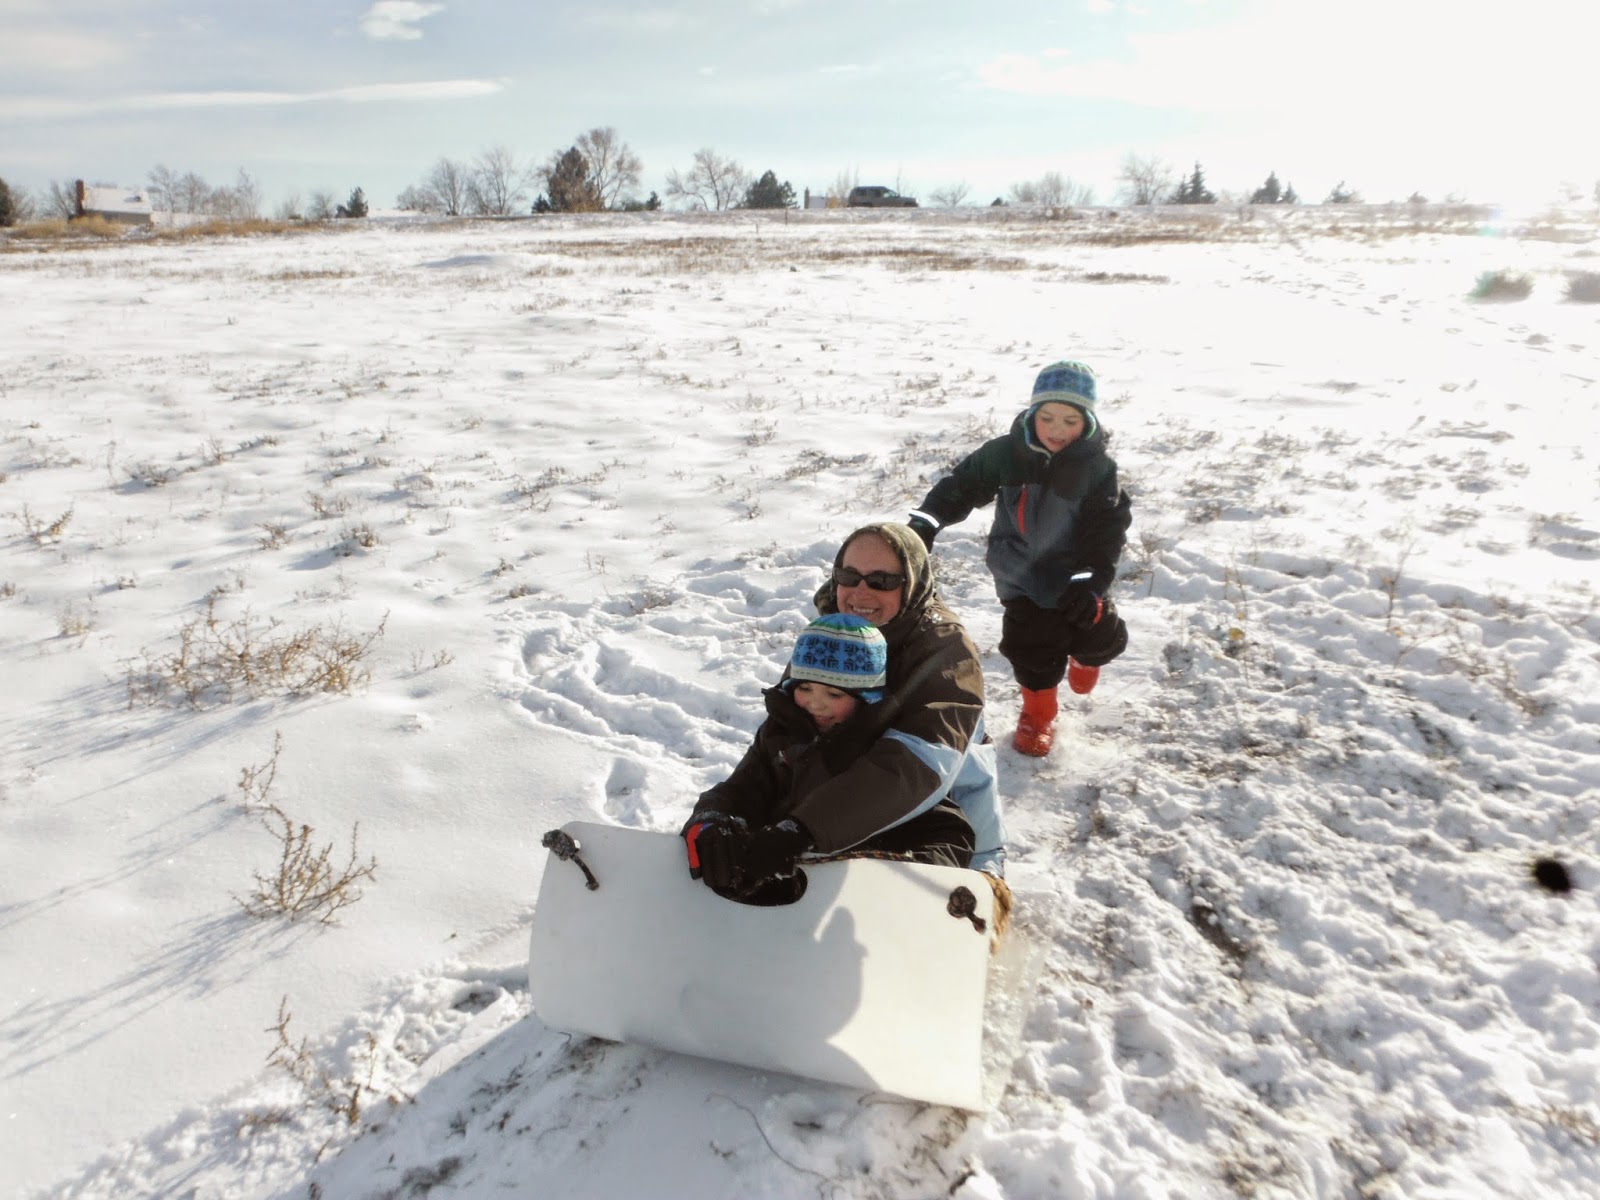
Yesterday was the last day of our "weekend", and it snowed and was frigid the last few days... so as soon as the sun came out we had to go sledding!! I googled sledding hills since we had no idea where to go, and we ended up finding a nice one! The boys had an absolute blast! Andrew and I did too! (Though I was much less happy when I realized how hard I'd been clenching my jaw going down the hill....ouch... ). Here's some pictures of the fun since it's back to work today after our weekly library trip! :-)
Friday, November 14, 2014
Monday, November 10, 2014
Fall Sight Words Tree!
Since it's been a bit too long since Halloween for those decorations to still be ok to keep up, I looked around for something we could make for fall that they could learn a bit at the same time. Then, I stumbled on this blog/idea: http://kindergartenfreckleteacher.blogspot.com/2011/11/fall-sight-word-trees.html . It seemed like a great idea to make something we could put up, and they could review their sight words! I cut out the tree trunks and leaves ahead of time so that they could just put everything together. They glued down the tree trunks, then chose 10 of their sight words, wrote one on each leaf, and pasted them around on the tree. I had to make sure they had leaves facing both directions when they wrote their words otherwise it may have been interesting... but they turned out great! Love it!
Monday, November 3, 2014
Painting!
Every time the boys do ABC Mouse, there are printables at the end of each section. I have them color or do whatever the printable is the next time they do ABC Mouse while the other kid is doing the computer work part. I usually only make them do 2-3 a day, so if there happens to be extra, I save them and every once in a while we do painting time! I had 6 saved up this time so they do those today. Apparently today was lets make everything colorful day! Haha! They did a good job though, and it gives them more practice using their hands and making art at the same time!
Thursday, October 30, 2014
Halloween Crafts Part 2: Footprint Ghosts and Colorful Jack-O-Lanterns!
Since the boys decided the house needed more decorations, I went back to Pinterest and found two more things we could try. The first thing we worked on was the Colorful Jack-O-Lanterns! Here is where I found the idea: http://kidsactivitiesblog.com/47751/halloween-art-project. First we got out some coffee filters, drew on them however they wanted with markers, then sprayed them with water so the colors spread. After we let it dry, We just taped them to the back of some Jack-O-Lantern faces I cut out and voila! Super cute pumpkin!
Next, we made our Footprint Ghosts! I didn't have white paint, so I figured in the spirit of Halloween, we'd just go with orange! Well... I didn't remember until I was getting everything set up that when I bought paint, I only bought big bottles of the primary colors figuring I could just mix up any other color I need. Well... when I had that plan... apparently I forgot my serious lack of artistic talent,,, and no matter how hard I tried... orange turned out too red, but close enough... lol. Here's the link for this one: http://www.craftymorning.com/footprint-ghost-craft-kids/. Anyway, I mixed up the paint, put it in a metal tin, put down a paper and made our footprints! Once they dried I outlined them and drew faces on them and we had some awesome ghosts! Now our house, (I think anyway) is decorated and ready for Halloween! :-)
Monday, October 27, 2014
Halloween Crafts: Bat Pictures and Boo Garland!
The boys told me that we just HAD to decorate for Halloween this year. Normally I don't really do too much holiday decorating, but since they insisted, I went searching for a few things we could make to put up. The first thing I found was these bats: http://www.notimeforflashcards.com/2008/10/im-going-batty.html . Basically you trace your handprint, draw a bat head shape, cut them all out, then paste them on some orange paper so we get the Halloween colors going on. Then they picked out some googly eyes and I cut some little red fangs and they glued those on. Voila! Halloween bat!
Next we made some Boo Garland. I got the idea here: http://peppermintplum.blogspot.com/2011/09/ghostie-boo-garland.html. I have some white yarn we keep around for crafts, so the only other things we needed were kleenexs, cotton balls and a permanent marker, which we had too! Basically you take a few cotton balls, wrap the kleenex around it to look like a "ghost", then tie the string around it to make "garland". We made sort of an assembly line and they helped me make some of the ghost faces too. They were so excited about everything we had to hang it all up right away and now they're asking to make more! Eep! Back to Pinterest I go... haha!
Monday, October 20, 2014
Science Experiment: Does it Float or Sink?
Yesterday we were supposed to do an experiment involving learning about air pressure. Well, the preparatory part didn't go well...and I couldn't get it to work... lol! Go me! Haha! So thankfully I remembered that I had already printed out a few worksheets, and one of them was the sink or float experiment. A while back I found this site (not sure how...Pinterest probably) and printed out the worksheet along with a bunch of other stuff to have around for occasions such as this. :-) The site is here: http://www.themeasuredmom.com/water-math-science-activities-for-kids-ages-3-6/ .
I filled up the biggest bowl we had with water and found a pencil, coin and crayon. Then I called the boys in and told them to find other things like the objects I found to see if they sink or float. Of course this ended up with A LOT of interesting options...so I chose the most variety I could. This included things like; bouncy balls, a toy ninja, a plastic toy chain and so much more... ;-) I wrote down all the objects they chose, then we went through the list and they decided whether they thought it was going to sink, or float. Next was the fun part! They dropped each thing in the bowl one at a time and watched it sink or float! Then they went back to their worksheet and filled in whether each thing sank or floated. They got some right and some wrong, and amazingly enough didn't really care that they had been wrong. The really awesome part is after they were done, they kept finding new things and trying them in the bowl for another half an hour after we were done! That's what I call a successful experiment! (P.S. I'm fully aware they're in their pj's for this...yay for school in your pjs!) :-)
Sunday, October 19, 2014
Time 4 Learning: Math
We use Time 4 Learning for part of the boys' lessons each week, and they seem to enjoy it quite a bit. The graphics sometimes drive me to the point of insanity with their 80's graphic awesomeness... but I'm pushing past it... lol. One part I really like in particular is the math lessons. Yesterday the boys did their weekly Time 4 Learning math lesson and I decided to take some pictures to show you what they do besides the computer work. For each math section, there is a quiz. You start each new lesson (if you finished a section last time) with a quiz from what you learned last time. So far the boys have both gotten all the answers right, which is great because I know they actually listened last time... :-).
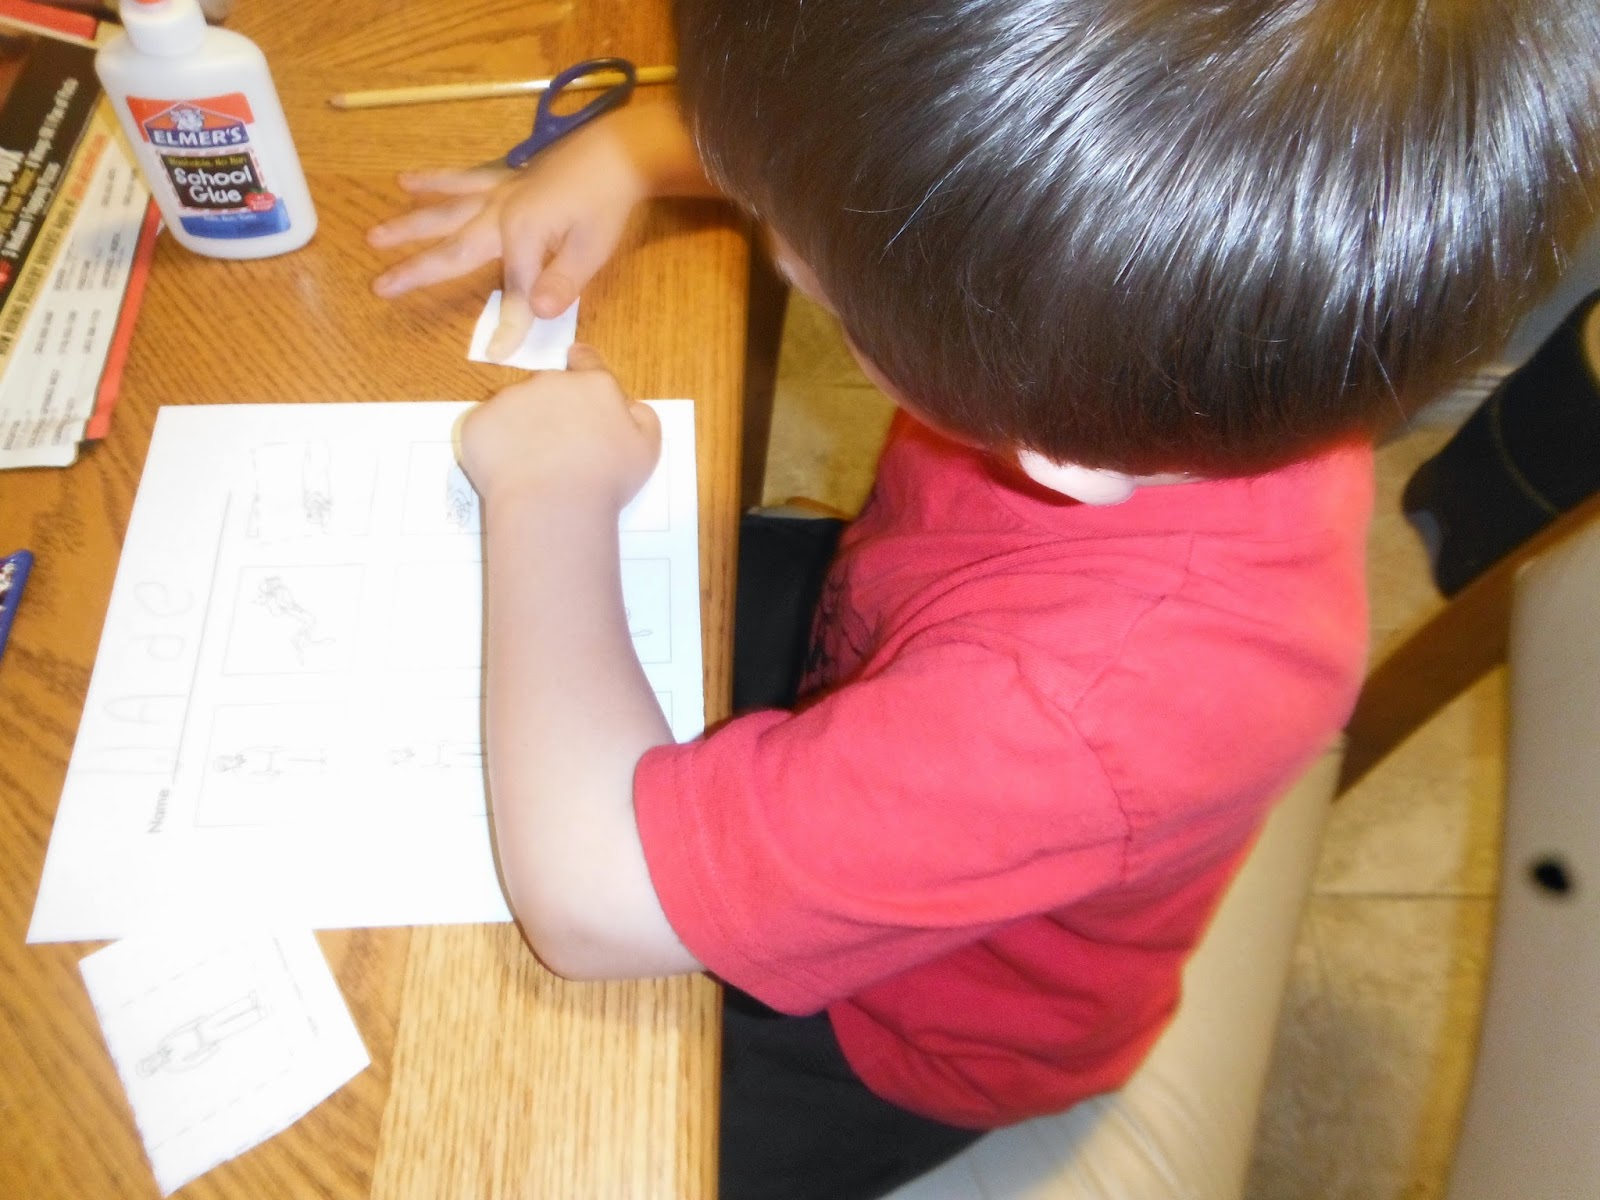
Once that is done we do two lessons on the website (www.time4learning.com) and then move onto the provided teacher materials which include some activities and worksheets. Some of the activities aren't really possible to do with only 2 kids, but we do the ones we can and do all the worksheets! There is usually a pretty even mix of worksheets you use a pencil for, ones that involve cutting, and others that have cutting and pasting, but this week we had a ton of cutting and pasting to do, which is great for their hand-eye coordination! They're getting SO much better at cutting! (Which is great...mostly because I'm not TOTALLY terrified they're gonna cut off a digit with child scissors... which are somehow sharper than my kitchen shears by the way...eep!) I really do love the supplemental stuff we do on Time 4 Learning, and honestly would recommend it be part of your curriculum if you can!
Subscribe to:
Posts (Atom)