Tuesday, January 6, 2015

Twin Test Kitchen: Puppy Chow!

     We went to the store today, so I got some ingredients for a basic, yummy treat that I'm not sure the boys have ever had before: puppy chow! Yeah, that's right. I said puppy chow. Cue salivation now! Anyway, I picked it because it only had a few ingredients and it was fairly easy for a 5 year old to do with minimal help. Plus its yummy. And now someone has to eat it... :-).
     I got out all the ingredients and measurement tools and we got to work! First they measured out 10 cups of rice chex. (The recipe said corn chex, but I went with rice, still yummy either way.) Then Wade measured out 1 cup of chocolate chips, then Wyatt measured out 3/4 cup of peanut butter (this part was kinda hard trying to get the peanut butter off the spoon and into the cup without a peanut butter splatter ending up on my ceiling...but we made it through slowly... haha. I helped scoop the last bit out). They both dumped their cups in the pan we had on the stove (not heating up yet). Next, Wade measured the 1/4 cup butter (same spoon issue...but at least it was a smaller amount this time... ;-) ). Then he dumped it into the pot. Next, I turned on the stove and they took turns stirring the mixture around while the other measured powdered sugar. We needed 1 1/2 cups of powdered sugar, so Wyatt filled the cup and Wade filled the 1/2 cup. (This part also involved some time to make sure there wasn't a major sugar disaster, but they did really well.) Once the chocolate mixture was heated and melted, I poured the chocolate into the chex cereal and we all took turns stirring it around. Finally they scooped the chocolate covered chex into some baggies, poured in some powdered sugar and shook the bags like crazy! Then they finally got to try it. Mmmmmmmmmmmmmmmm. They did great! <3


Sunday, December 28, 2014

Birthday Fun: Sledding Trip

      Two days before Christmas was Andrew's birthday, so we decided to go sledding and have some fun! It was a great time and we all had a blast! (It would've been more of a blast if it was warmer than 20ish degrees outside... but oh well... lol) Here are some pictures from our adventure in the snow!


Wednesday, December 24, 2014

Other Christmas Decorations!

      We made quite a few different decorations over the last week or so, but many of them were things like color by numbers that don't really need their own post. So, instead I decided to take pictures of the last few things we did for Christmas since it's Christmas Eve and all... better late than never right? Anyway, we made a chain decoration of christmas colors that we made and put up some time last week. We also did a sticker garland christmas tree and 5 christmas color by numbers. They all turned out great, so here are some pics of their hard work. :-)


Sunday, December 21, 2014

Christmas Tree Ornaments

      I found this idea on Pinterest and thought the boys would have fun making them, so we decided to turn it into a really cute Christmas gifts! I got the idea here: http://www.teachwithme.com/blogs/getting-to-the-core/item/241-fingerprint-christmas-tree-another-keepsake-ornament . I cut out the trees, white paper and stars beforehand so assembly went faster. I got them all their pieces, mixed up some green and brown paint, got out some red paint and let them at it. We had to do it in a few different steps, so it took some patience, but they did great. First I glued the white paper tree on the green tree awhile before so it had time to dry. Then, the boys used their thumbs and painted all their trees. Next we had to let them dry, which took a few hours just sitting out. Next, they glued their stars on how they wanted, and we had to let those dry for a little bit, and then wrote their names on the back. Then I decided in order to preserve them so they last a bit longer, I would laminate them with my handy dandy laminator! I love my laminator. I got it on a crazy sale on Amazon they seem to have once a year or so and it was TOTALLY worth it. LOVE. Anyway... once I got them laminated, I cut them out and we moved on to the next phase. We needed some string to hang the ornaments with and a hole punched in them, so they helped me cut out the yarn pieces and punch the holes in the top. They strung them strings through the holes, I tied them and voila! Handmade gifts for the Grandma's and Grandpa's we love. :-)


Friday, December 19, 2014

Christmas Decoration: Do You Wanna Build A Snowman?

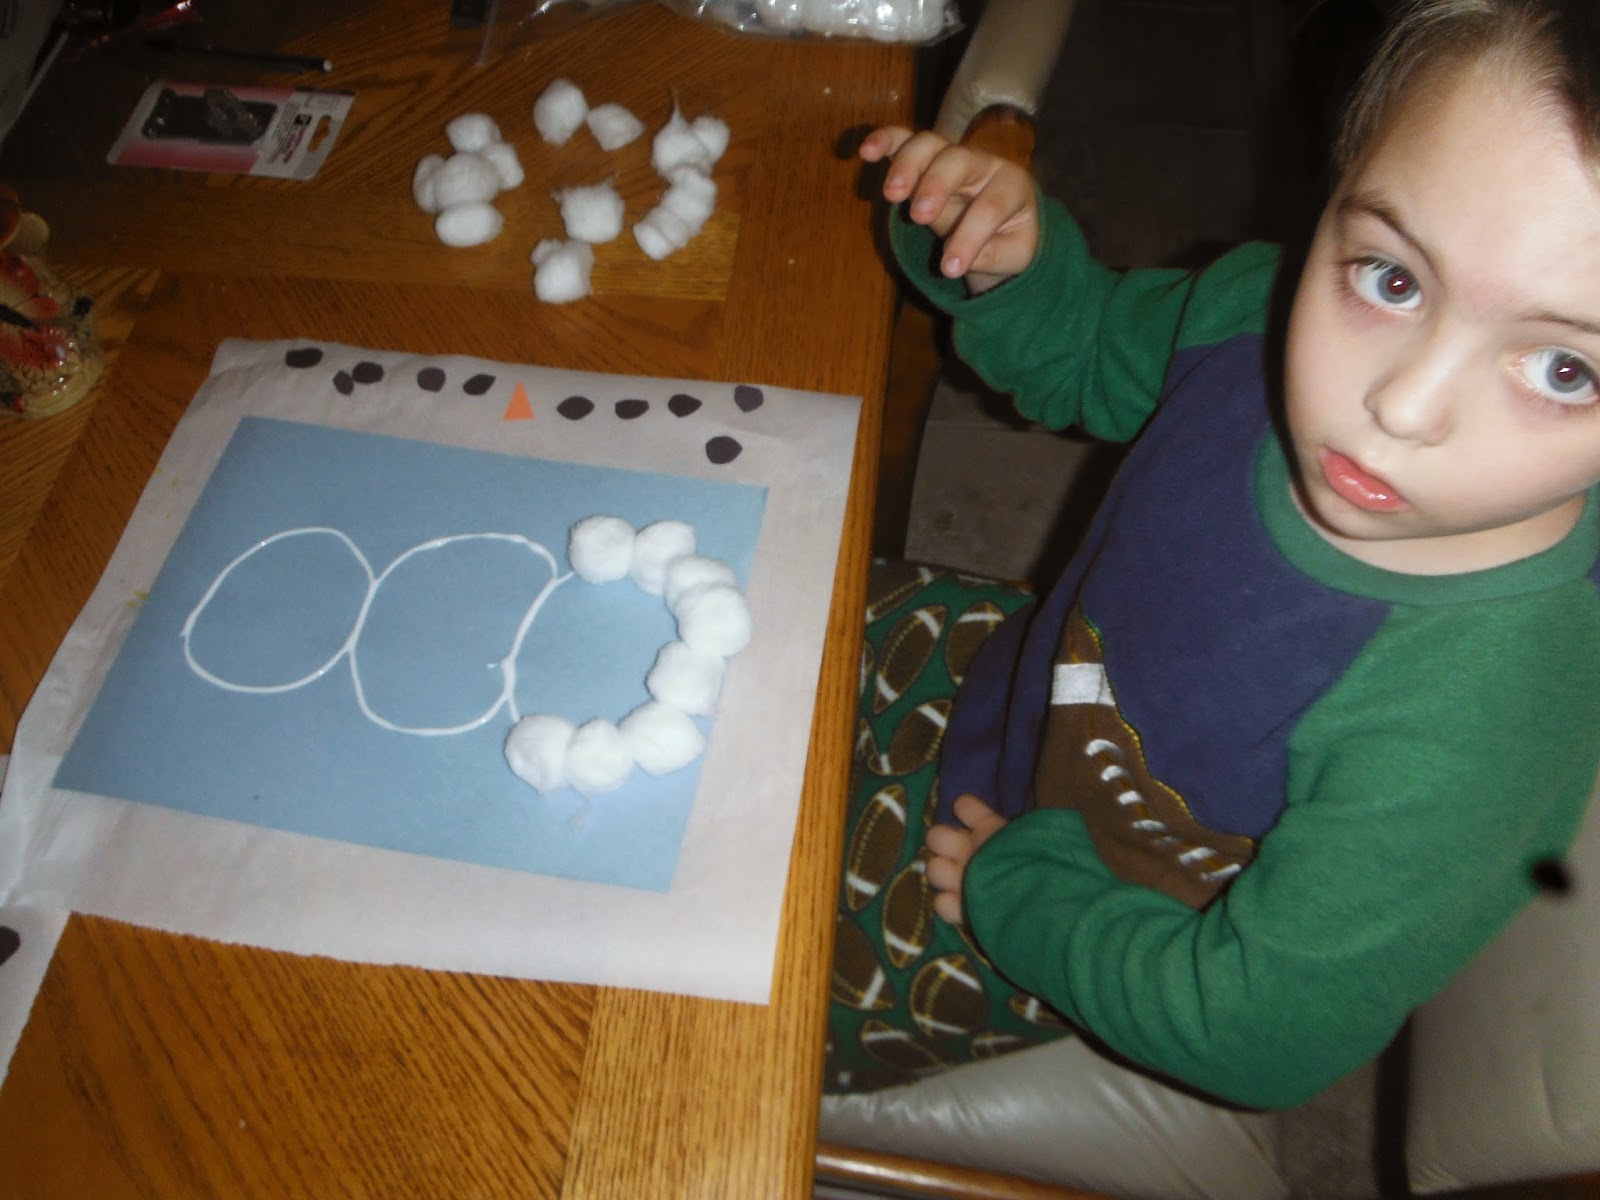
       Sorry about the Frozen reference... I needed a title and couldn't help myself... haha. Anyway, the next idea I came across for a cute Christmas decoration was to make a cotton ball snowman! I found the idea here: http://www.notimeforflashcards.com/2010/01/make-a-snowman-inside.html . Instead of using marker and drawing on the face and buttons for them, I cut out a bunch of little black circles and an orangle triangle so they could paste the pieces on themselves. Plus there's a pretty good chance if I tried to draw them on they'd look NOTHING like that... lol. So I got out the construction paper, cotton balls, and pieces I had already cut and set them out. Then I made the circles for the snowman with glue and let them start gluing. Once they were done with the cotton balls, they made the face and buttons! After they were all finished, I went around under all the cotton balls and put some extra glue to make sure they stay on since I was planning on hanging them up. Once they dried they wrote their names on the bottom and we hung them up. :-)


Sunday, December 14, 2014

Holiday Decorations: Christmas Tree Star!

      After we picked out our decorations for the Christmas Tree, we got everything on and then realized we didn't have a star on top! This was something we HAD to fix (haha) so I went on Pinterest looking for a solution and I found this: http://gogingham.com/2011/12/tree-topper-tale/ . We have a few boxes laying around from christmas gift deliveries so I cut a star, and taped the paper towel tube I had already cut down to the back of it. Then the boys came and painted it for me!  They ended up having to put on 3 coats of paint! They loved it and I think it turned out pretty good! :-)


Friday, December 12, 2014

ABC Mouse Level 2: Complete!

     Late last week, the boys finished Level 2 on ABC Mouse! We normally do two lessons each time they sit down, and with 75 lessons that takes awhile! They did a great job, and earned their special reward of a movie and ice cream! Now we've moved on to Level 3 and they're still doing great! They each take turns doing the computer lesson while the other completes the printables that are available from the last lesson they did, plus a page of practice letters to practice their writing! Not to mention we also do 1 lesson from Teach Your Child to Read book that I'll talk more about soon because I LOVE it! Each ABC Mouse "lesson" lasts about an hour to an hour and a half with the computer lesson, reading lesson, letter practice and pictures to color. Love my hard workers!